How to Use InslusiveDocs in 2024: Guide for All Users
Navigating InclusiveDocs With Confidence

InclusiveDocs is an AI-powered platform that offers the most advanced inclusive document remediation and accessibility for everyone. Below, we’ll cover the process of using it every step of the way.
InclusiveDocs is a platform that focuses on changing the digital content landscape and making it accessible to everyone, with a particular focus on people with disabilities. It was founded in Canada in 2007 by a group of tech enthusiasts ready to change the world and has been operating for over 15 years.
The team of experts at InclusiveDocs uses advanced technologies such as AI to extract content from complex files that are difficult for screen readers to decode. Their tireless efforts and dedication have made it possible to ensure that everyone, regardless of their ability, can access and enjoy digital content.
Read on, as we’ll show you how to use InclusiveDocs, its features, and every mode this platform offers.
While many accessibility platforms offer to test your document and to show where you can enhance your document manually, InclusiveDocs offers complete remediation using AI and other sophisticated methods. Besides the guide for InclusiveDocs, we’ll show you how to upload your document and use the bookshelf, the enhancement tool, and other platform components.
Steps for Using InclusiveDocs
The first step for using InclusiveDocs, just like every other platform, is signing up by filling out the form with the standard personal information.
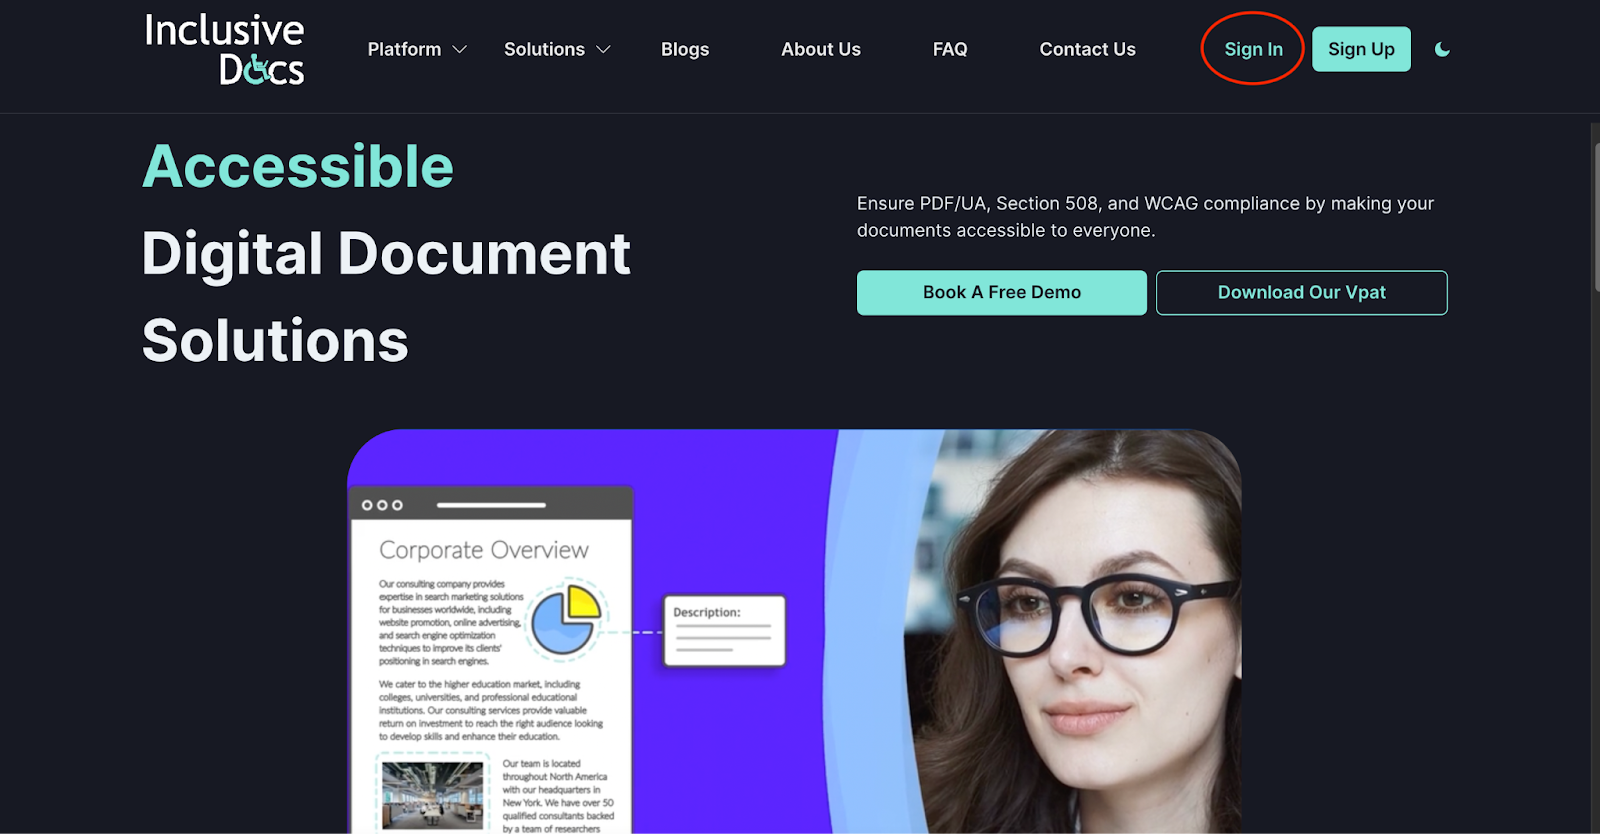
Signing in starts with visiting InclusiveDoc’s website and clicking Sign in.InclusiveDoc’s website
Clicking sign-in will take you to the Login page, where you can access InclusiveDocs. It gives you the standard options for login with your email and password. There is also an option in case you forget your password so you can reset it and an option to ask a question if there’s an issue.
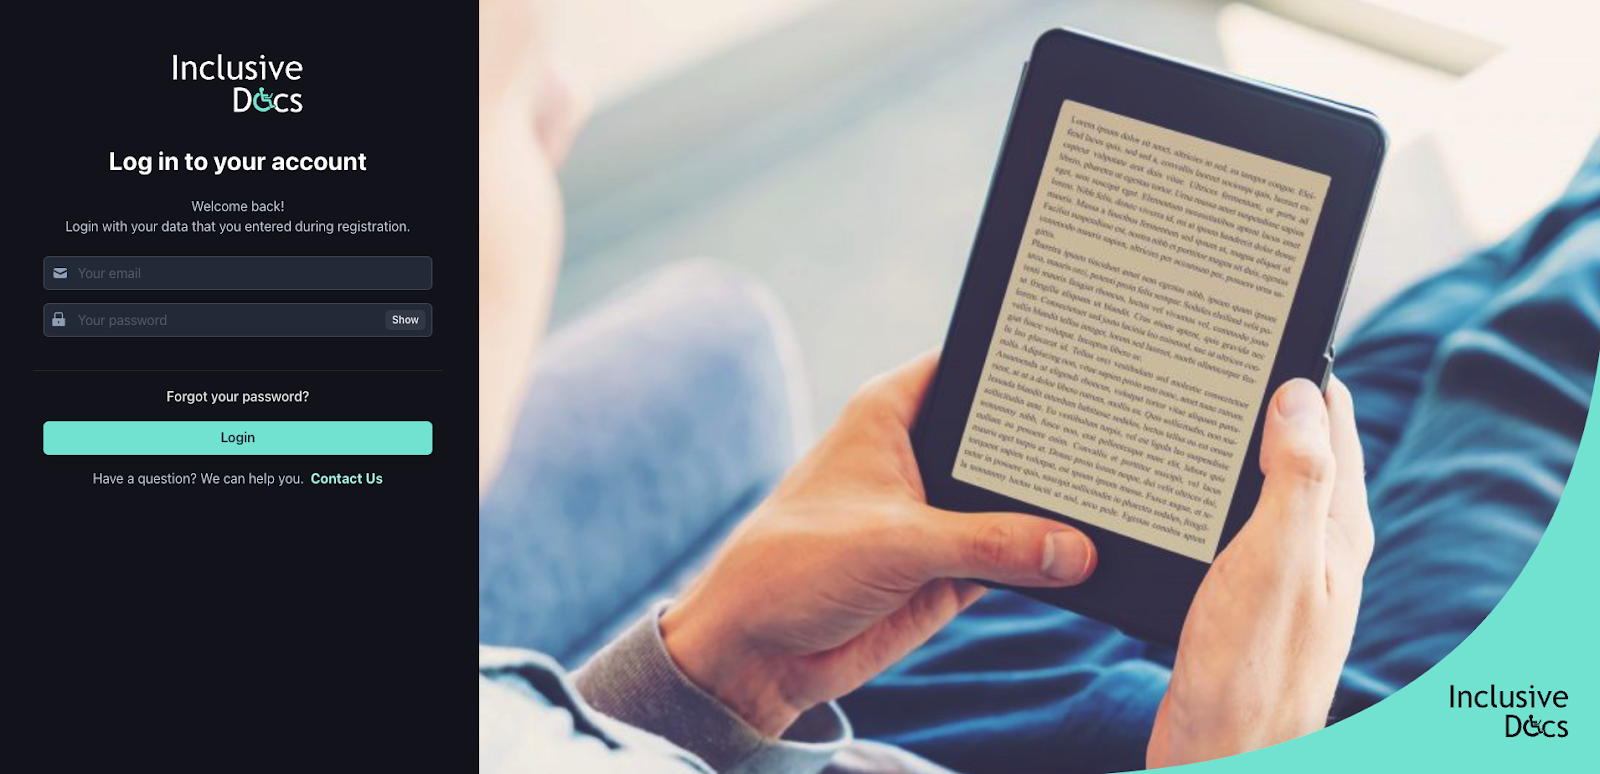
You can Log in on the page of InclusiveDocs very quickly by entering your personal information like email and password.
- After the user logs in, it will take them to the branded app, with a main menu on the left side. The user can choose from publishers, and a credits icon that notifies the user how much money they have for upload.
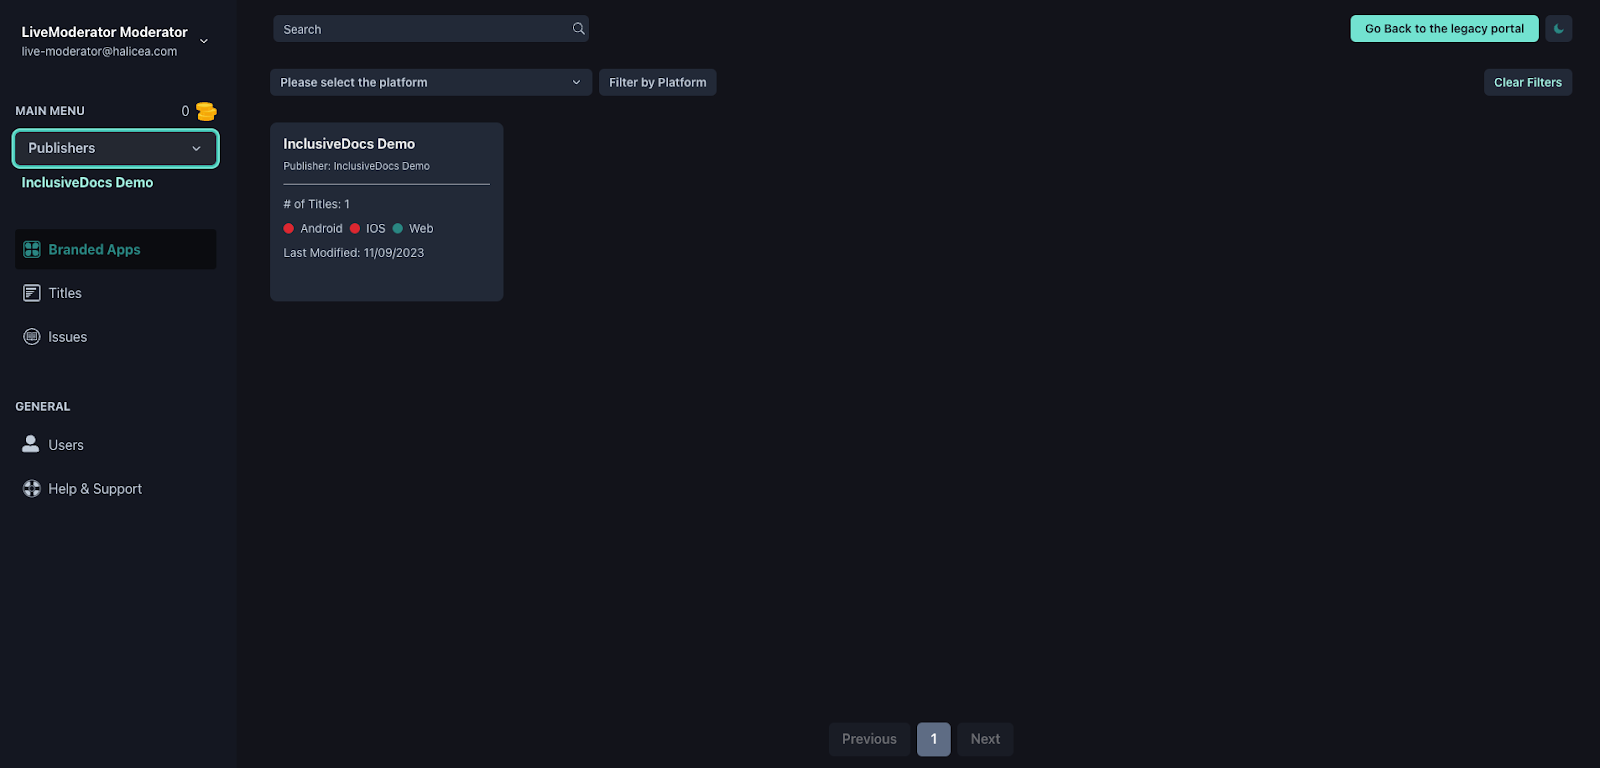
InclusiveDocs has a branded app site with many options.
The titles exist so users can group their issues and different publications inside. InclusiveDocs has this feature so that users can choose within the titles straightforwardly and quickly.

InclusiveDocs has a unique title menu where users can preview titles in which different issues and other publications exist.
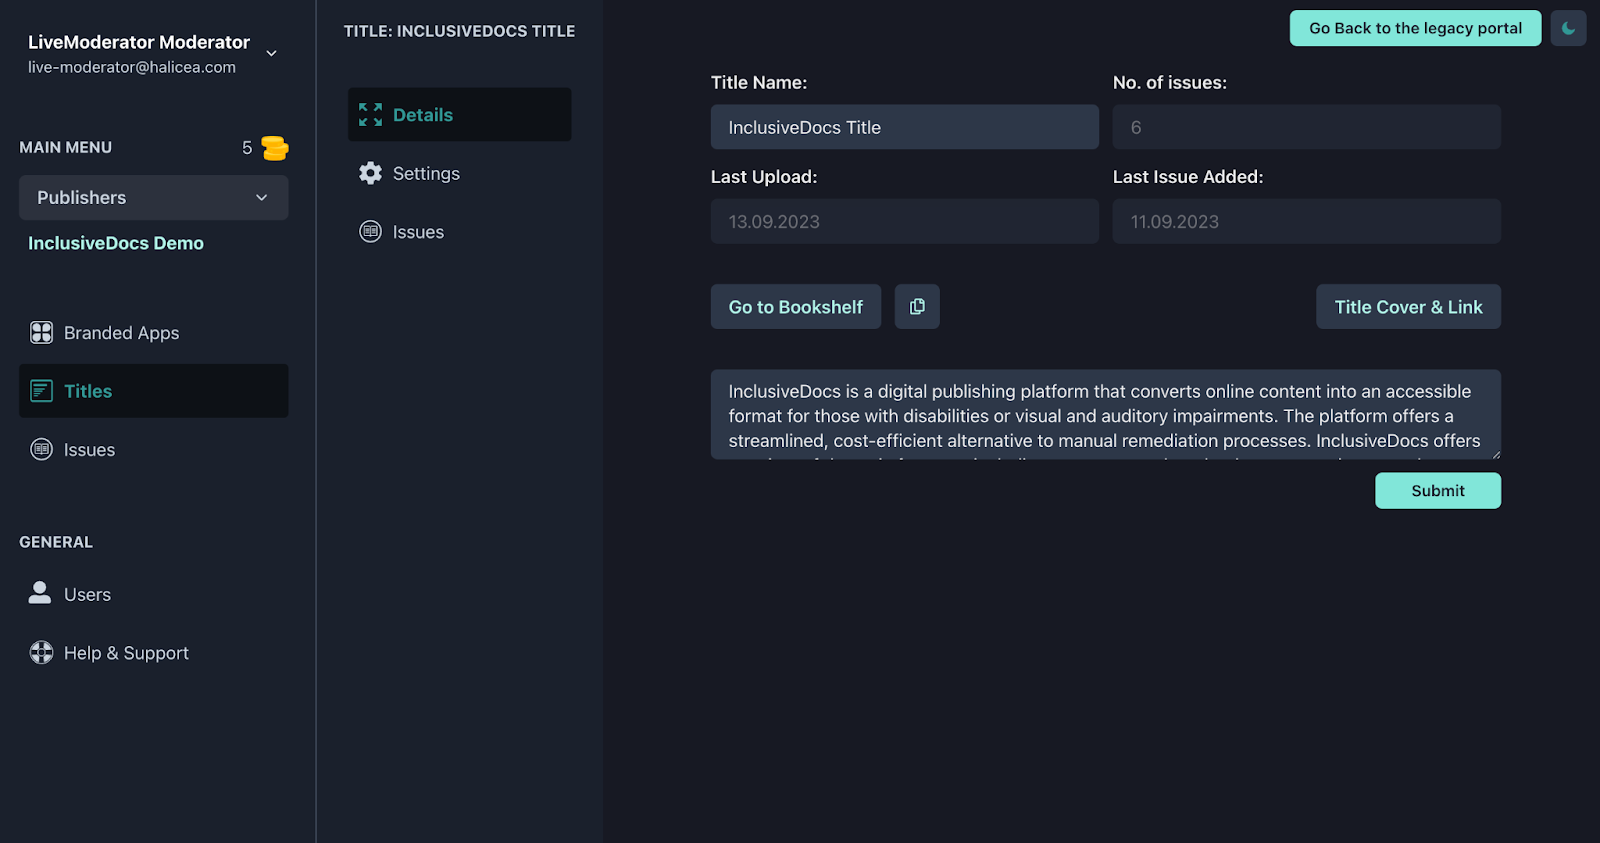
The details screen is from where the users can go to the bookshelf.
One of the settings here is the details screen. The starting point will take the user to the bookshelf by simply pressing the button Go to Bookshelf.
How to Navigate through InclusiveDocs’ Bookshelf
The next platform component is the Bookshelf, where the publisher can see their titles and all issues inside the tags. The access to each setting is simple, and the user can navigate through it quickly.
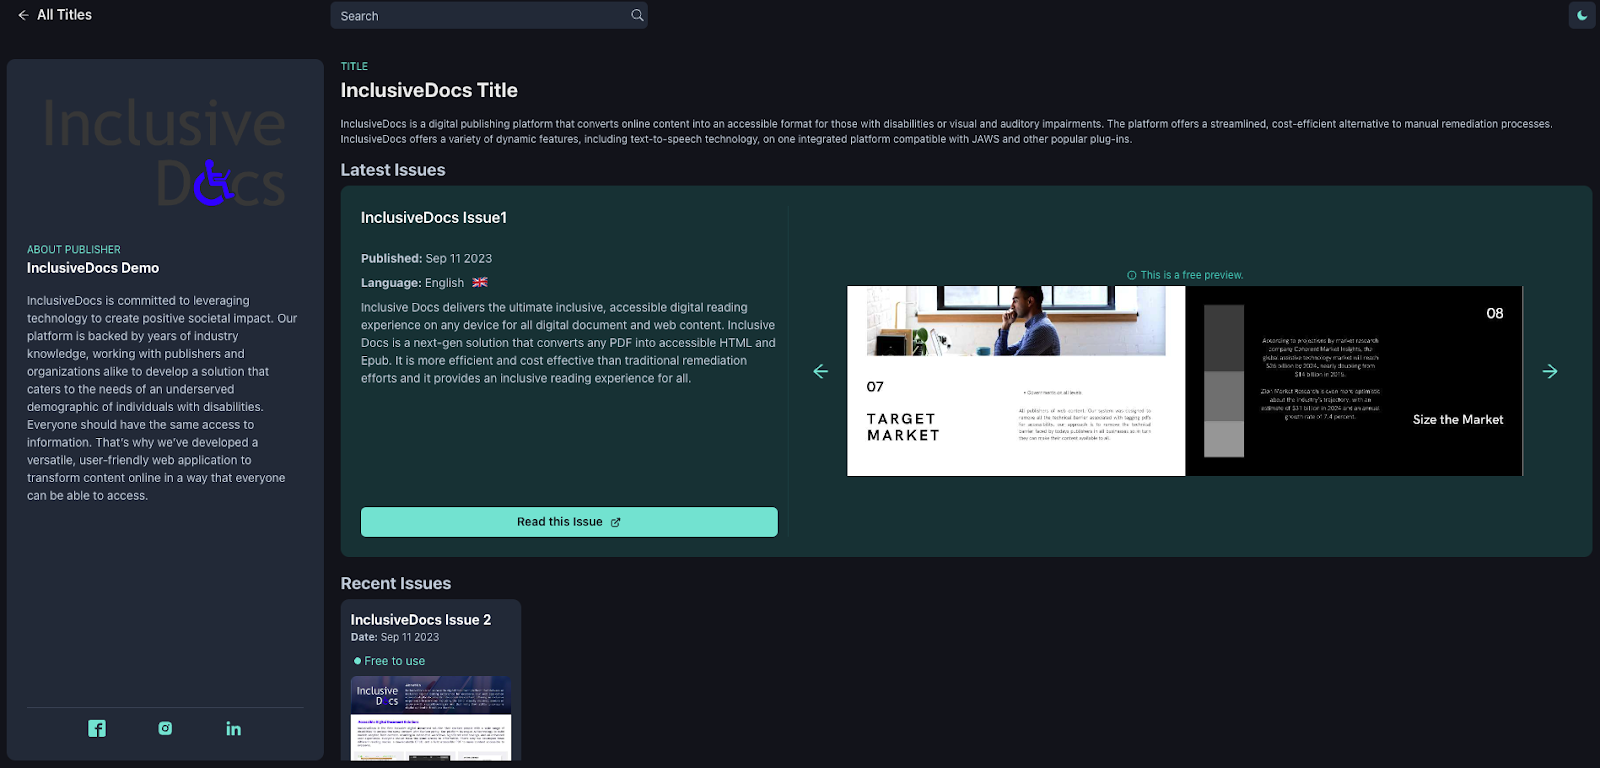
The bookshelf has a sophisticated and robust design so users can see their titles and issues. Every publisher has an “about publisher” description and social media networks so users can share it. The menu is on the left side, previewing the recent issues. There is also a button, “titles,” on which you can see your latest titles in your branded app.
Under the latest issues, there is also a language option, date, and issue description. On each of the latest issues, there is a preview of a few pages on the issue so the user doesn’t have to open it, or they can list only a few pages. Last but not least, the title screen also includes a return button, allowing users to navigate back to the title screen.
The bookshelf is feature-rich and intuitive, with clearly labeled buttons that cater to the needs of different clients.
InclusiveDocs offers a robust and sophisticated approach that highlights and provides the correct information so every client can be educated and easily navigate the platform.
Issue’s Screen Features and Navigation
We previously discussed the bookshelf feature, which allows users to access various issues. We will explore the issues screen in more detail to better understand its functionality.
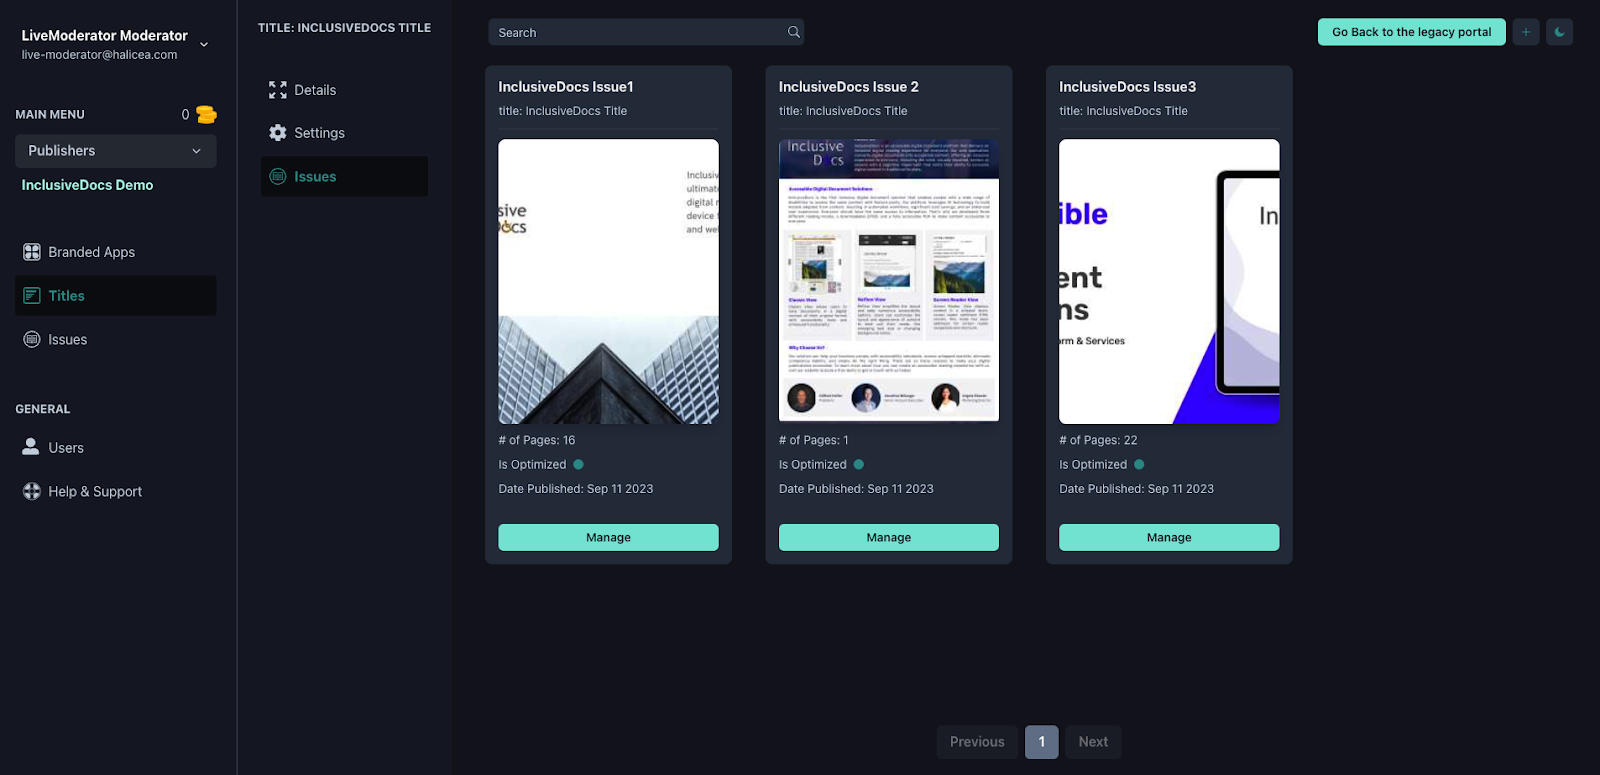
InclusiveDocs has an issue screen where users can display a comprehensive list of all the issues associated with the client's title. This allows easy navigation and management of any client issues in a title.
When users click the "issues" button, they will be taken to a screen displaying all the available issues. This screen is divided into two parts. The right side displays the issues themselves, with each issue shown with a preview (including a thumbnail), publication date, and a button for managing the issue (which we'll discuss later) in a selected title.
Meanwhile, the left side contains the main menu, which includes options for browsing through different titles, accessing issues, and adjusting general settings. This menu is the same as the one found on the details screen.
How to Add a New Issue
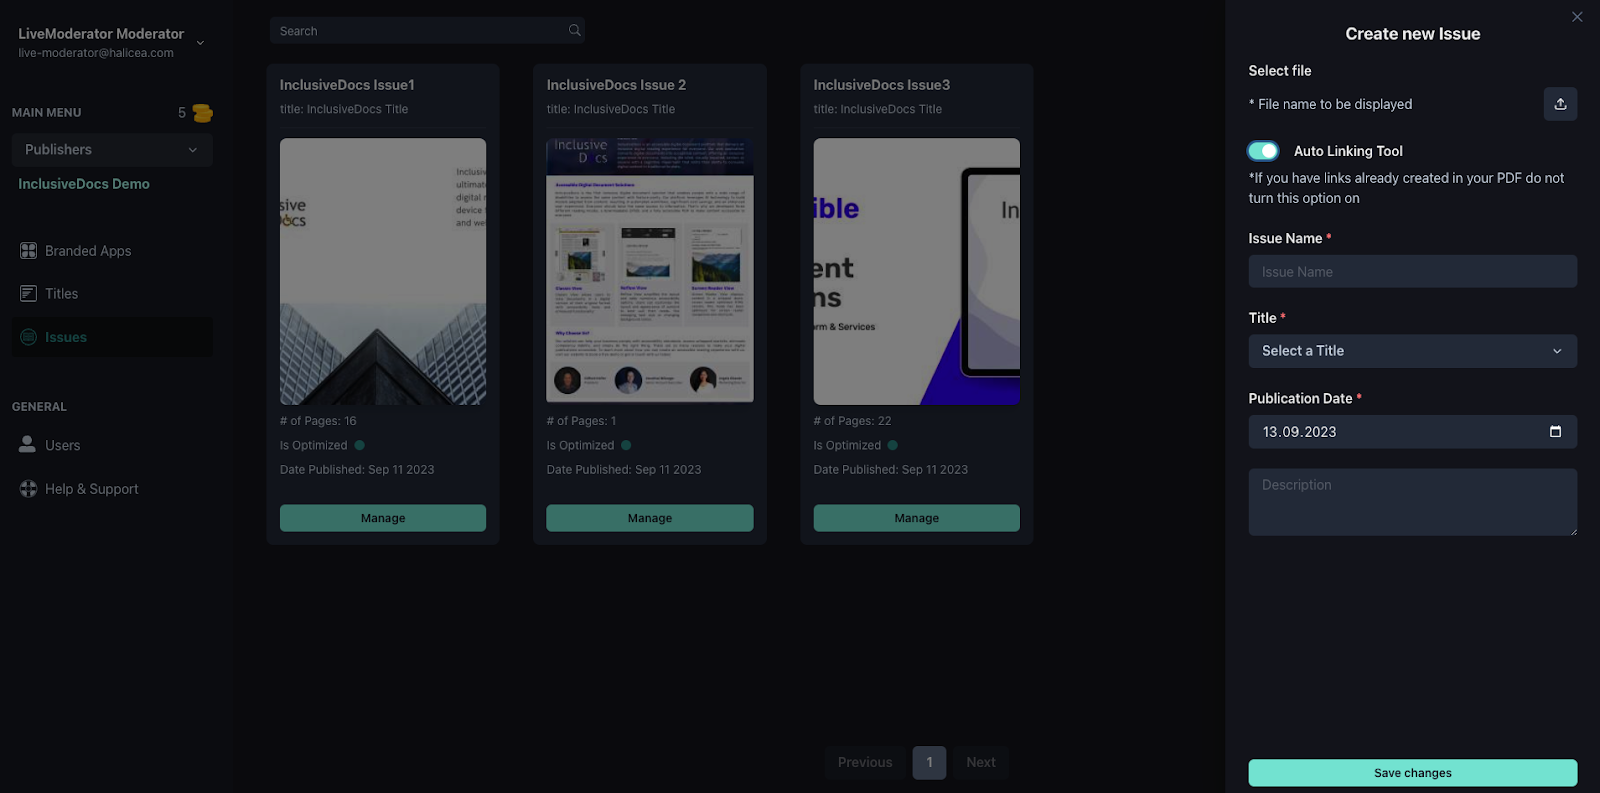
If users want to add a new issue, they can simply click the '+' sign and upload it under the corresponding title.
Unlike other accessibility tools, the issues screen allows users to add a new issue to the title.
Users can add new issues on the issues screen, which sets this accessibility tool apart from others by offering additional customization and flexibility. To add a new issue, users can choose the "Select file" option on the right side of the menu. Additionally, users can utilize the "Auto Linking Tool" to add links to their PDFs, a customizable option that can be turned on or off based on user preferences.
This tool helps escape manual linking during document remediation. Additional features are showcased on the right menu. The last feature on this screen is the manage button, which users can use to select and choose an issue.
Managing Issues
You can easily manage issues on InclusiveDocs and replace them by uploading a PDF.
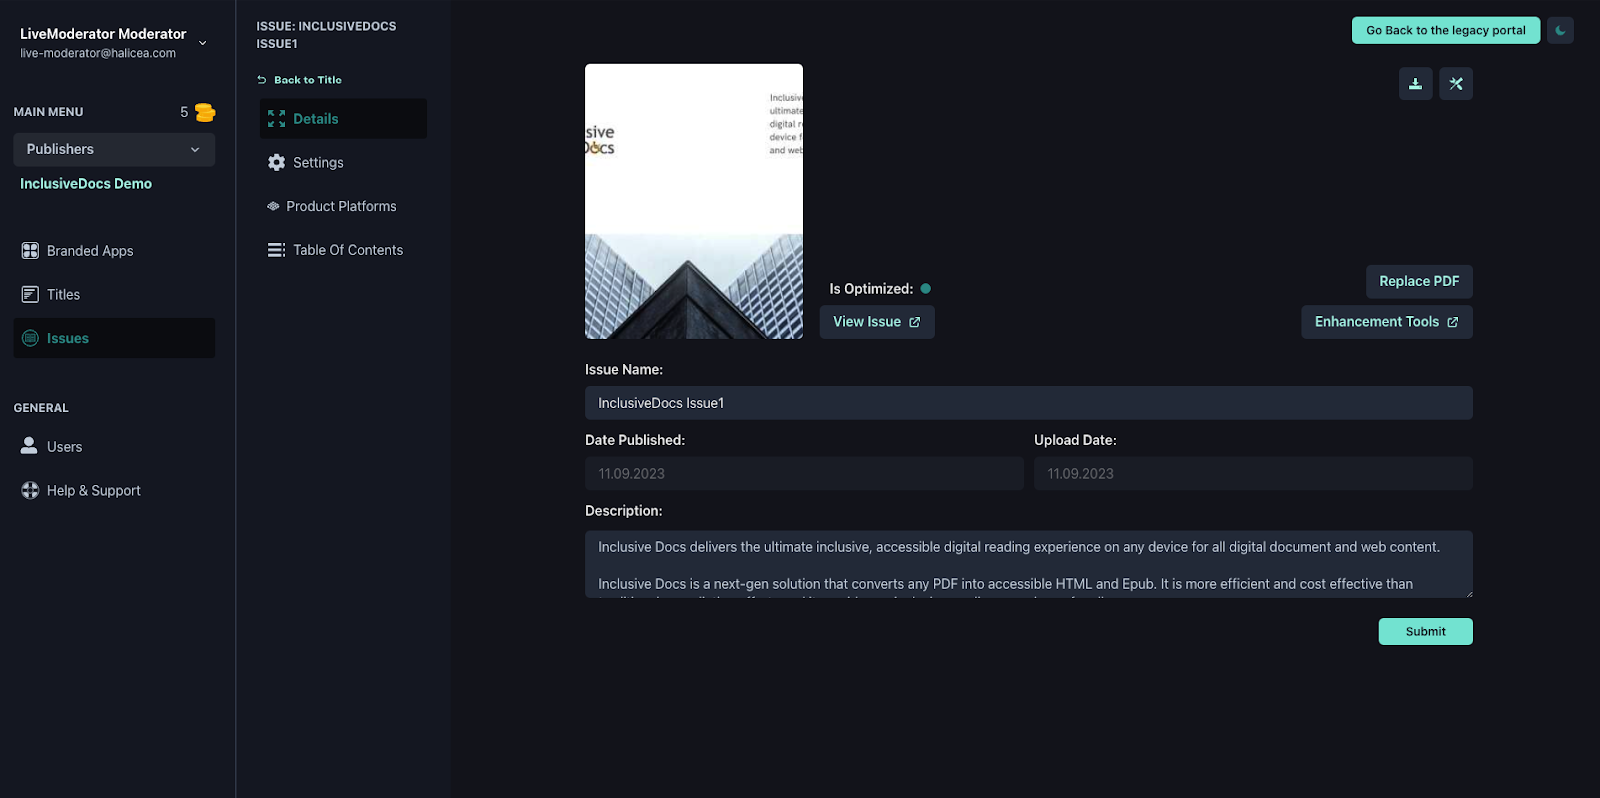
When the user clicks on "Manage," they are taken to a screen where they can customize different features for the issue. Let's explore the accessible options:
Users can check where the issue was published (web, mobile, etc);
Users can view and read the issue;
Users can replace the issue with a PDF;
Users can reoptimize the downloaded issue by selecting the buttons below "go to the legacy portal.”
Users can also find all the information related to the issue, including its publication date, upload date, and description.
In addition to these features, a button will take you to the Enhancement tools. We will discuss that further in this blog post.
Enhancement Tools for Improved Accessibility
Enhancement tools include features that improve document accessibility and enrich PDFs, such as adding links, embedding videos, and custom HTML or GIFs.
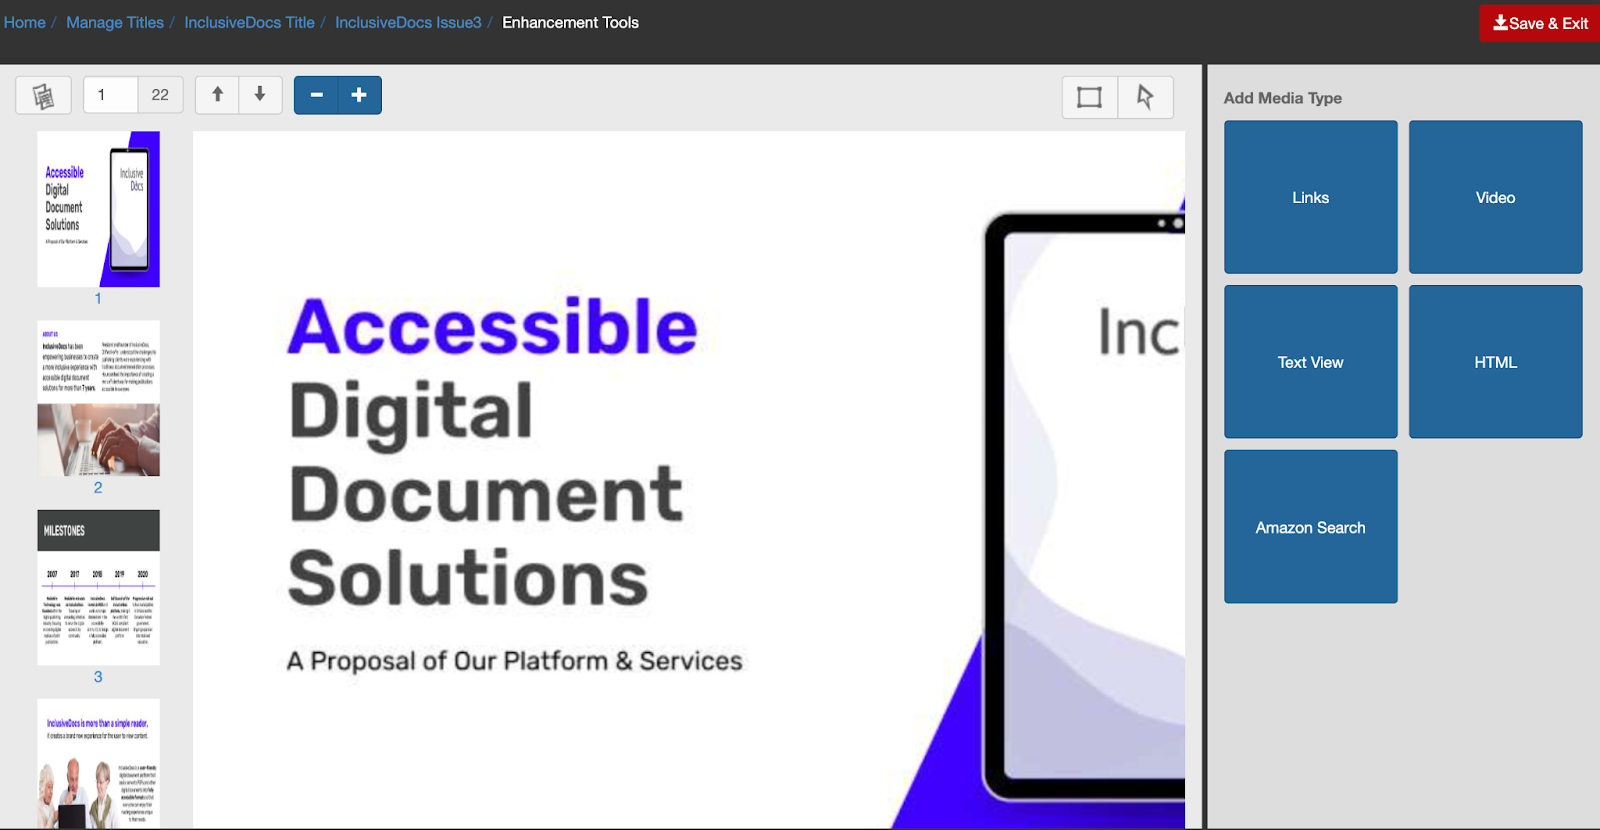
InclusiveDocs' main feature for providing accessibility is the Enhancement tool, which enriches the PDF with links, gifs, videos, and custom HTML.
Besides the settings on the right side, you’ll find a preview from the PDF on the screen's left side.
Regular Mode or Screen Reader Mode?
When the user clicks on the "view issue" option, a convenient and user-friendly popup window for reader accessibility appears. This window ensures that all users, regardless of their physical abilities, can easily access the content. If the issue is accessible, the user can view it in regular or screen reader mode from within the accessibility popup. This feature enhances the overall user experience by providing all users with a safer and more inclusive environment.
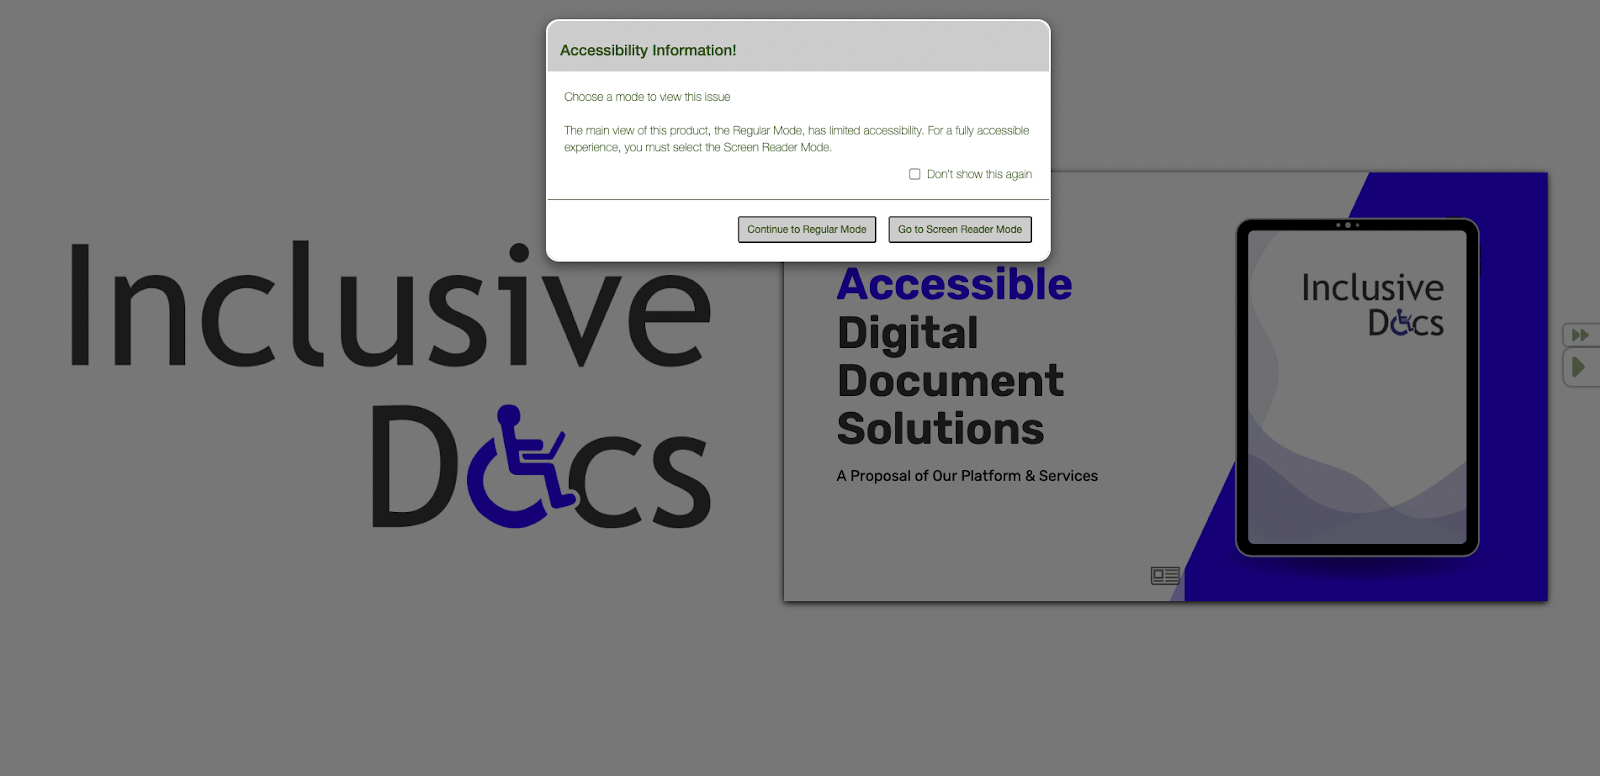
One of the features of the InclusiveDocs platform is the option for users to choose between regular mode and screen reader mode when viewing an issue.
Regular Mode Screen
The regular screen mode or the classic view is intended for an enhanced reading experience where the user can read the PDF, go to a specific page, and return to the very beginning or to the page where they stopped reading. There are also some additional settings like crop, search, and access directly in the title where the user can find the issues, download a PDF, print a PDF, and the ability to see the PDF in full-screen mode.
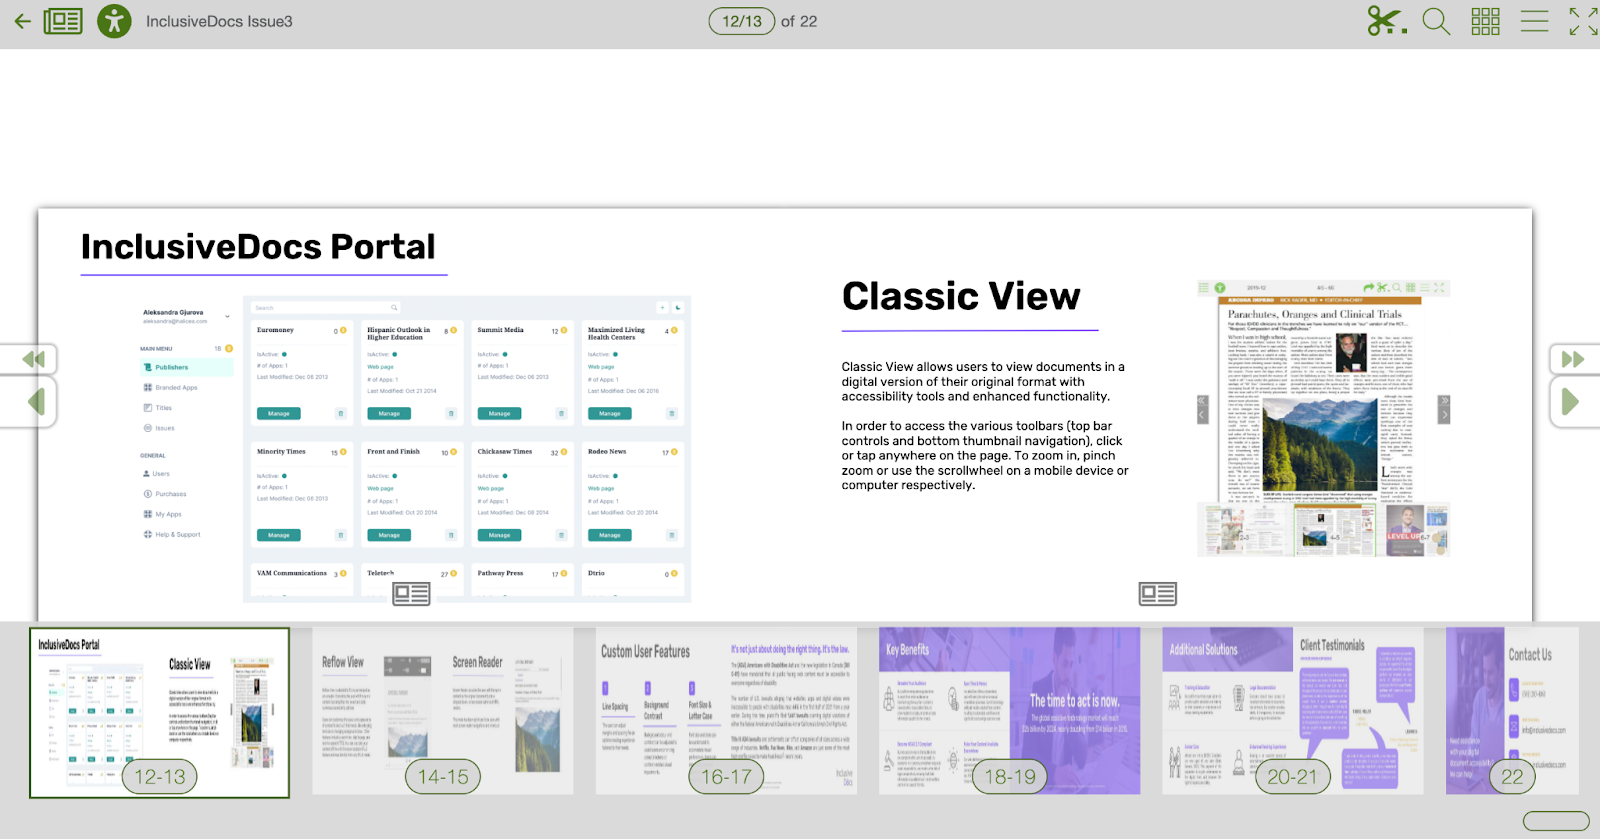
InclusiveDocs Regular Mode has many options that are a perfect fit for digital content remediation for accessible education, healthcare, governmental institutions, digital publishers, and many other industries.
The Classic View enables users to view digital documents in their original format, with added accessibility tools and enhanced functionality. It features various controls, such as bottom thumbnail navigation and zoom, that can be used across multiple platforms.
The last step for the user is clicking the motion button to take them to the reflow mode.
Reflow Mode

InclusiveDocs has a reflow screen with different settings, which are great for learning disabilities such as dyslexia, other visual impairments, and colorblindness.
The reflow mode screen is a fantastic feature of the reader that is particularly helpful for individuals with learning disabilities such as dyslexia, then for visual impairments, and color blindness. This feature allows users to easily adjust various settings such as padding, text style, background color, font, line height, and letter case. The button also incorporates text-to-speech technology and allows pages to be turned with the arrow button.
Screen Reader Mode
The screen reader mode is the most essential feature for accessibility, and InclusiveDocs successfully incorporated this mode into the platform.
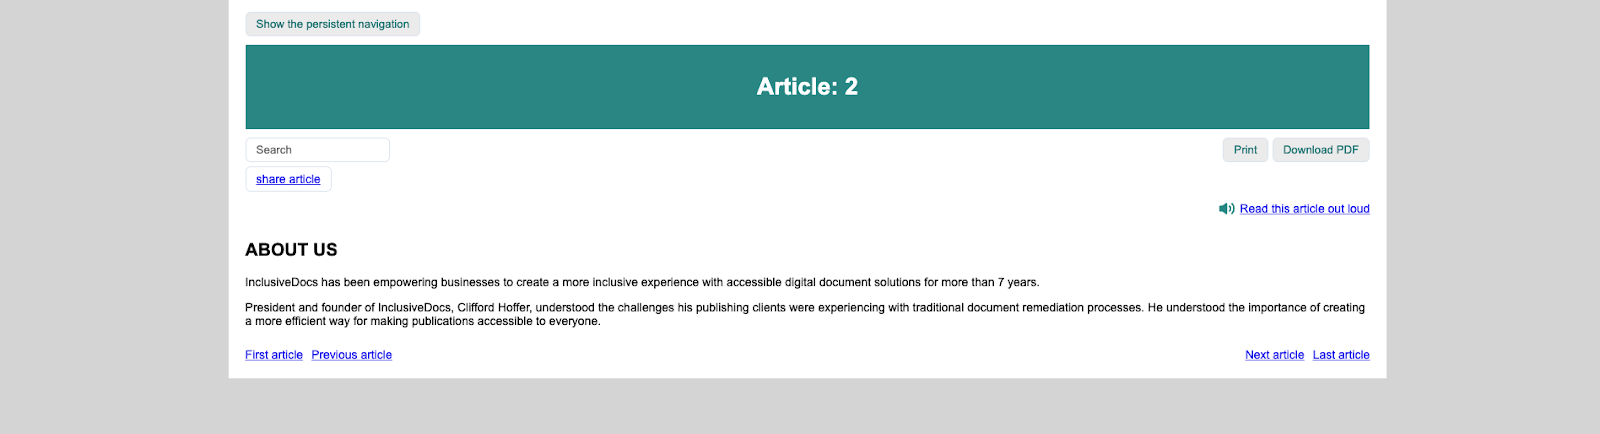
From reflow mode, the user can switch to screen reader mode. This mode utilizes cutting-edge technology, including AI and text-to-speech, to ensure a more effective remediation experience. In addition to the option of downloading and printing PDFs, this mode provides a read-out-loud feature for articles. Moreover, users can navigate through the reader using the tab key, an intuitive and easy method for disabled individuals.
Conclusion
For over 15 years, InclusiveDocs has been committed to bridging accessibility gaps across various industries and clients. Our platform serves digital publishers, accessibility users, educational institutions, government agencies, and other public entities.
Our mission is to continually improve our platform, with a focus on user experience and accessibility, so that everyone can easily access and use our tools. At InclusiveDocs, we are dedicated to giving a voice to all users and helping them find the perfect solution for their document accessibility needs.
Using InclusiveDocs may seem like a long and complicated process. However, we hope this guide has provided detailed answers to any questions you may have had.
Did this guide help you navigate the platform with ease? Is there anything that you feel needs to be covered? We appreciate you taking the time to read this guide and look forward to discussing further accessibility topics in the future.